Building Walkthrough Guides With PowerPoint Using The Author Tools
Posted by Author, Curator, Visually Impared Squirrel Literacy Advocate & Dynamics AX Technical Solution Professional (TSP) at Microsoft on
Writing walkthrough guides is easy. It’s the formatting of the content that will take you forever to do, especially of you are wanting to repurpose the content into other formats like scripts, blog posts, summaries and even books. And if you want to make a change to a guide, or correct mistakes then that can take just as much time because you might break some of the formatting, or pagination, or you may miss one of the formats. And if you wanted to have specific page breaks, formatting requirements or different page sizes for different versions then it just doubles or triples the work.
Some people may have lackeys or interns that they can give this job to, but I wasn’t one of them, and have literally spent weekends formatting books and transferring images one by one into Word so that I can publish document or create detailed blog post series.
One day it became too much and I decided that I had to stop the insanity and find a better way. Because I capture all of my walkthroughs in PowerPoint – just because it makes everything look consistent and tidy – I looked into how I could automate the process and have it do all of the work for me. I blew the dust off my copy of Visual Studio and created Author Tools for PowerPoint.
These tools automate a lot of the leg work that I used to do manually by using PowerPoint as a repository for all of the walkthrough details and then uses pre-defined word templates as a basis which it then transfers all of the images and text automatically and also formats all of the walkthroughs in a number of different ways based on how you are wanting the information to be consumed. For example, if you are building a book then you may want headings on pages, but if you are publishing it as a blog then you probably don’t.
This reduces the time to format a 400+ page book from 8+ hours and tens of thousands of repetitive keystrokes to probably about half an hour and a single click.
In this walkthrough (which is created with Author Tools for PowerPoint) I will show some of the setup and also how it works.
Setting Up The Author Tools
The Author Tools for PowerPoint only have a few pieces to it. There is a PowerPoint theme which has it’s own special structure for identifying different pieces of content and sections of the documents. There is a Word template that has all of the necessary styles that it uses to consistently format the data and then there are the Author Tools themselves which is the magic that links everything together and will write the documents for you.
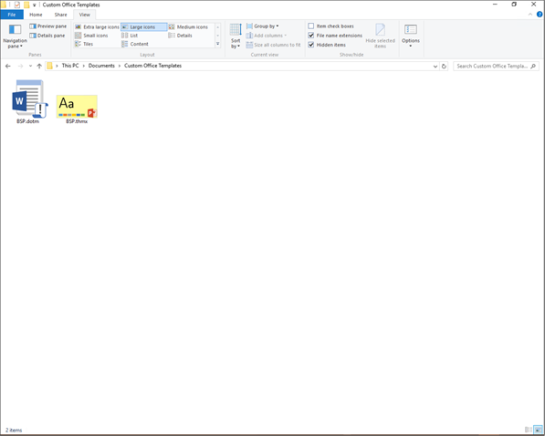
One important piece is that you need to have the template files all within the Custom Office Templates folder within your My Documents directory. This is where the Author Tools looks for them, and if it isn’t able to find them then not much is going to happen.
Creating a New Walkthrough
The first step in the process is to create our design that we want to publish. And we will do that within PowerPoint. Rather than create a template from scratch we can just use the design template that is included with the Author Tools and then use the Write functions within PowerPoint to build the presentation pages.
To do this just double-click on the .thmx file within the templates folder.

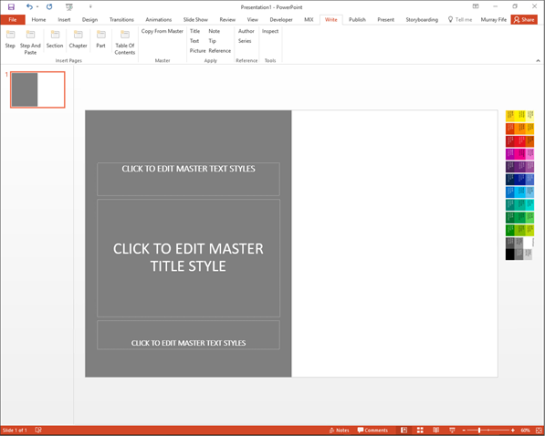
This will open up a new PowerPoint presentation for you and you can start writing.

Adding Walkthrough Sections
As you create walkthroughs, you will probably want to break them out into bite sized chunks that describe the building blocks of the walkthrough. Within the Author Tools these are managed as sections. They can be grouped into Chapters later on and then chapters can be grouped into multiple Parts if you have a large process that you are documenting. To start the writing process off we will want to add a Section to the walkthrough so that we can add steps under it.
To do this, switch to the Write ribbon bar and you will see that there are a number of slide icons within the Insert Pages button group. These indicate the common pages that you will probably want to add into the walkthrough. It starts off with the Steps of the walkthrough and then has other pages for the organization of the walkthrough like Sections, Chapters and Parts.
To add a section into the design just click on the Section button.
This will add a new slide for you with the information that you need for the section – which is really a Title for the section and also some Text to introduce the section. These are the common building blocks for all of the slides.

Just type in the section name into the Title shape and also add in any text that you want to help introduce what you are doing.

Adding Walkthrough Steps
Once we have added a Section to the walkthrough, we are on to the meat and potatoes of the walkthroughs which are the steps that we want to document.
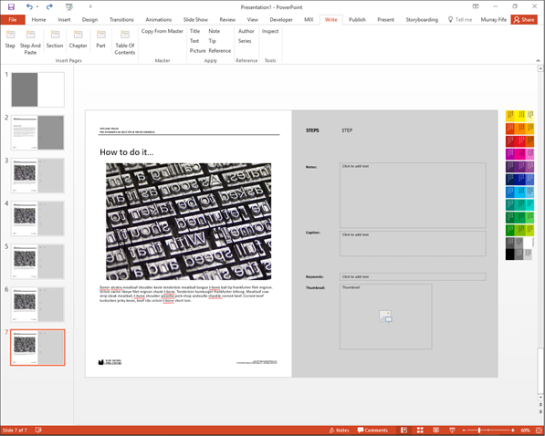
To do this, click on the Step button within the Insert Pages button group which will add a new type of slide to the document. In addition to having the Title and Text shapes that were in the Section slide, it also has a Picture placeholder which we will use for illustrations.

To start off we can just paste in the image that we want to use for the step into the Picture placeholder.

Then add any text that you want to have to describe the step.

And then add a Title to the slide.

Just rinse and repeat and add in all of the steps that you want to include in the section and you are done.
Adding Additional Step Types
Although you can build the entire walkthrough just by using the one step slide, the PowerPoint theme has a number of additional slide types that you can use to show different information and to identify extra types of slides that you may want within the workflow. One of these for example is a summary page. When you add a summary to the walkthrough, it acts like the end of the section, but is treated differently from the steps when the document is printed.
To add a Summary slide, start off by clicking on the Steps button to add in a new slide into the document.

Then right-mouse-click on the slide and select the Layout option. This will open up a window that shows all of the different layouts and slide types that are included in the Author Tools template. These are broken out by page type – i.e. Step, Section, Chapter, Part, etc. and also under each of these are different components of the walkthrough that you can add – i.e. Summary, Illustration, Introduction, and much more.
The layout groups are used by the Author Tools to decide how to structure and format the document and the different slide designs are used to manage specific formatting that is to be used for that slide.
In this example, select the Summary design within the Steps layout group.

This will change the slide design for you to a Summary slide where just the Text shape is available for you. The Title is hard coded because you don’t need to change it for this type of slide.
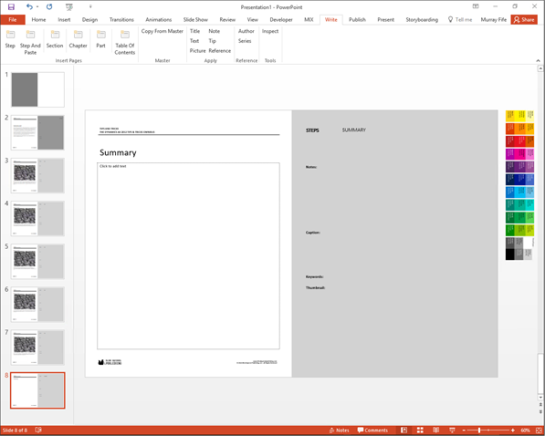
All you need to do is just write your section summary and you are done.

Creating a Walkthrough Document in Word
Now that you have created your walkthrough it’s time to start converting it into something that is a lot more consumable. And the first example that we will show is how you can convert the PowerPoint version of the walkthrough into a Word document.
To do this, just switch to the Publish tab within PowerPoint and you will see that there are a number of publishing options that are available to you. All you need to do in order to create a Word version of the walkthrough that you created is click on the Create Document button within the Create button group.

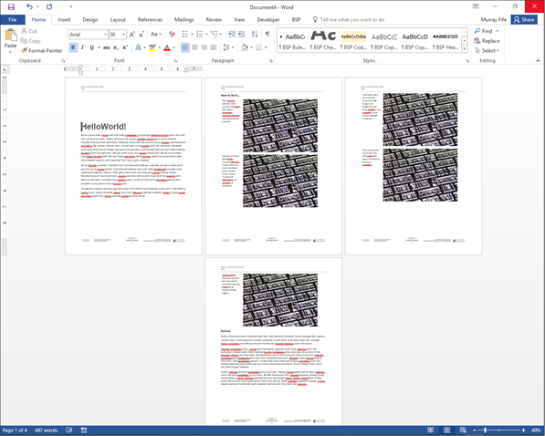
It will then open up Word using the Author Tools template and build the document piece by piece for you, add in all of the headers, create a summary of the steps as a Recipe, add in detailed step pages with their own headings, and then add a Summary page for the section.
How easy is that!

Choosing Which Elements To Include In The Document
The walkthrough that we just created is the default template that is used by the Author Tools for PowerPoint and is my favorite way to publish out document. It has a How To Recipe at the beginning of the document and then a detailed step by step Walkthrough at the end of each section. And also if there is a summary then it is tacked onto the end after the walkthrough is done. That way the expert users can quickly skim through the text to find what they need, and the if they get stuck then they can refer to the detailed step by step images.
But sometimes you may want to show the data a slightly different way. This is controlled by turning on and off different elements within the publishing tab.
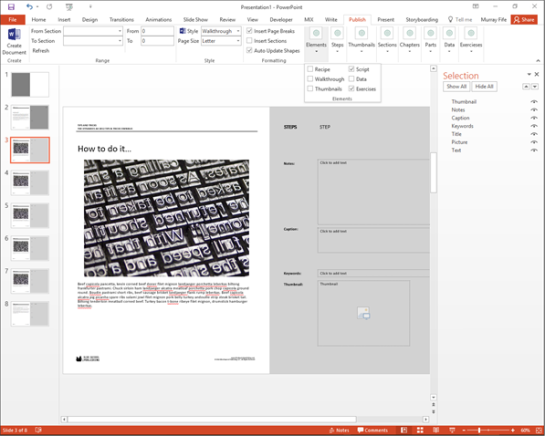
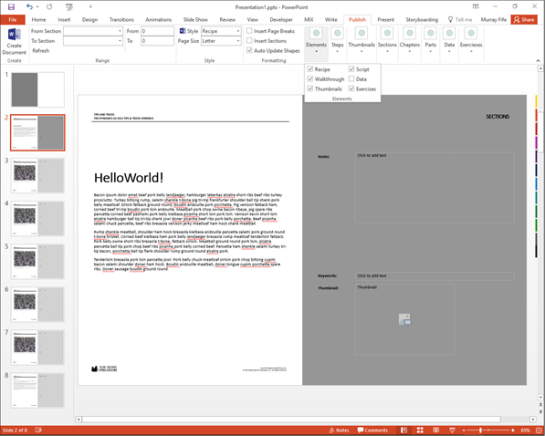
To see all of the different Elements, just expand out the Elements group within the ribbon bar. Here you will see that the default configuration includes a Recipe and a Walkthrough element.

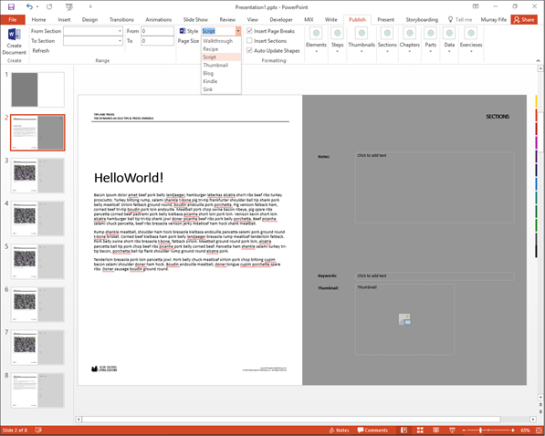
Say for example you wanted to show all of the steps as a script, then you can just uncheck the Recipe and Walkthrough elements and then select the Scripts element. To create the document click on the Create Document button again.
That will create a slightly different document type for you where all of the screen shots are shown in order with the text description for the steps shown to the left as a caption. This is a better way to show scripted steps for sure.
Using the Style Templates
To make things even easier for you to create different types of documents we have included a number of Style templates within the Author Tools which will turn on and off elements and flags for the creation of the documents based on the purpose of the document. This allows you to quickly configure the options for books, blogs, scripts, and other formats without having to manually change the switched by hand.
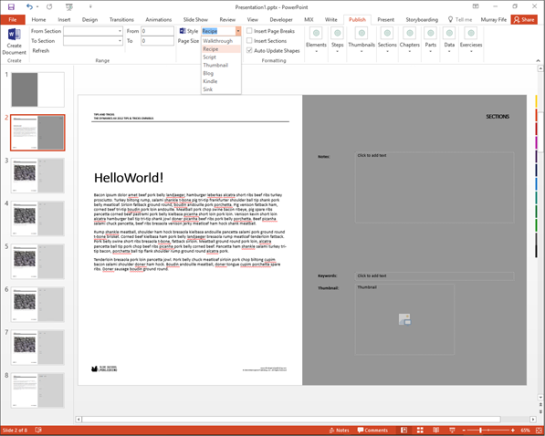
To choose other Style templates, just click on the Style dropdown list within the Style button group and you will see all of the available pre-defined templates that are available to you.
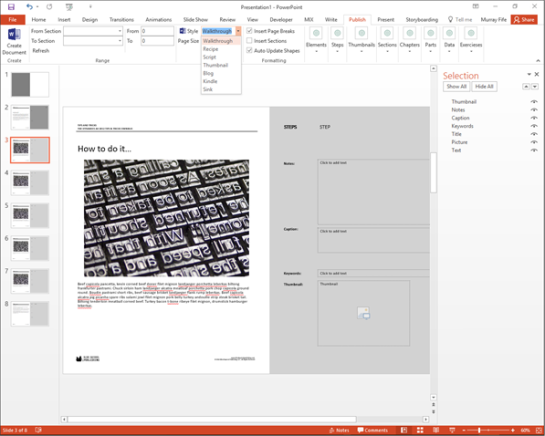
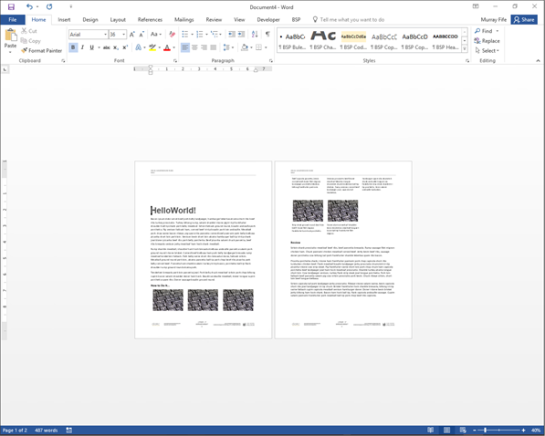
If you want to have this formatted and ready for you to paste into a blog – where you don’t need any headings, you want the image to be after the text and also have no recipe beforehand, just select the Blog style from the dropdown list.

If you look at the Elements options you will see that the Walkthrough element is the only option that is checked.

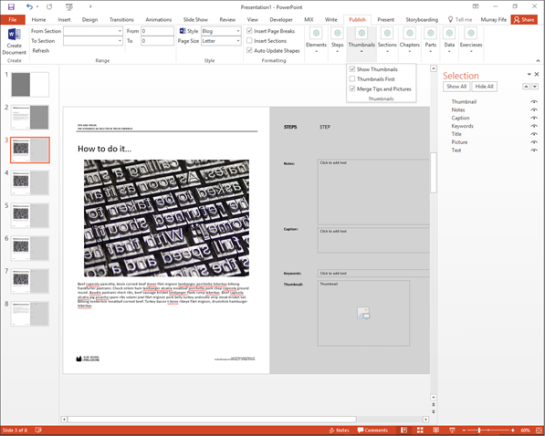
Also if you look at the Thumbnail options then the Thumbnail First option is turned off so that the picture will be added after the main text of the step.
Also if you expand the Sections flags you will notice that no sections are added as page breaks with this item because we want a continuous roll of text for the web.
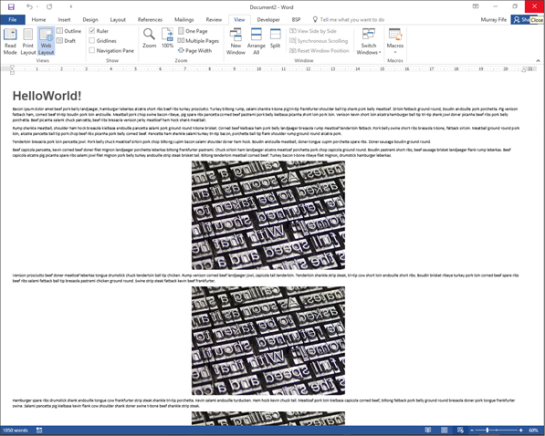
To create the document in a blog ready format just click on the Create Document button.

Viola – you now have a document that is ready for cutting and pasting into your favorite blogging tool.
Creating a Thumbnail Walkthrough
Another type of element that is part of the style templates is a Thumbnail view. This shows smaller versions of the images in a grid rather than sequentially and is great to explain steps while not taking up a lot of space in the document.
To create a Thumbnail style walkthrough then just click on the Styles dropdown list, select the Thumbnail option and then click on the Create Document button.
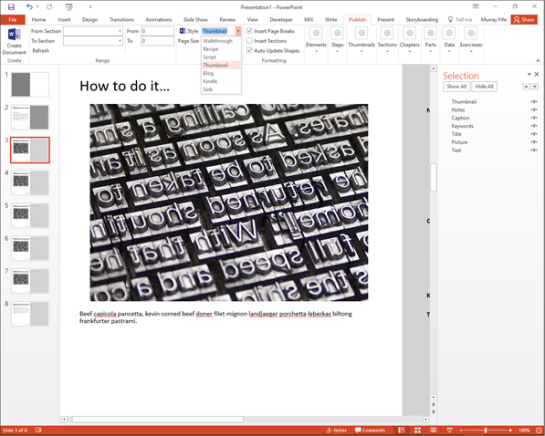
This will create a document for you with the introduction to the sections, then all of the images as thumbnails and then have the summary review at the end to close out the walkthrough.
Creating a Script Document
Although we created a script earlier on by turning on and off the different elements, there is a quicker way to do this because there is a Style template especially for Scripts.
All you need to do is click on the Styles dropdown list, select the Script option and then click on the Create Document button.
That will create the Script for you based off the walkthrough.
Creating a Recipe Document
The final type of document Style that we will look at is the Recipe. Sometimes you don’t need to have all of the images and the detailed walkthrough for the document. Just having the steps as a list is good enough. This style is more for the expert users or if you just want to give instructions, or if you want to create a smaller document.
To do this click on the Styles dropdown list, select the Recipe option and then click on the Create Document button.
That will create a more concise document for you with just the How To steps showing. Great for exercises and tests.

Creating Custom Mashup Documents
Although the standard templates are great, the number of different combinations and permutations of elements and flags that you can enable are practically unlimited, so we haven’t included them all. But that doesn’t mean that you can’t pick multiple elements to create different types of documents that mashup multiple visualizations and also work in new and unique ways.
For example, if rather than showing the big walkthrough screens you wanted to create a document that has the Recipe and also the Thumbnails then just select them from the elements.

That will show you the detailed recipe steps and also the thumbnails for reference.

If you wanted the whole kitchen sink then you could select the Recipe, Walkthrough, Thumbnail, and Script elements and press the Create Document.
That will give you a document that is close to sensory overload but if that’s what you want then that’s what you will get.

SUMMARY
As I said right that the beginning, writing walkthroughs are great ways to pass the time, but formatting them so that they can be consumed as books, blog posts, cheat sheets and more are not. This quick introduction to the Author Tools for PowerPoint should show you that there is a better way to spend your time rather than cutting and pasting images to word and also pulling your hair out when Word decides to reformat the documents for you.
The key to this process is to create your structured walkthrough document in PowerPoint and then let the scripts in the background do all of the hard work, and that is why the Author Tools for PowerPoint were created.
Share this post
- 0 comment
- Tags: Uncategorized
0 comment