Use Print Management To Email Forms To All Customers By Business Purpose
Posted by Author, Curator, Visually Impared Squirrel Literacy Advocate & Dynamics AX Technical Solution Professional (TSP) at Microsoft on
Use Print Management To Email Forms To All Customers By Business Purpose
The Print Management functions within Dynamics AX allow you to specify how and where forms and documents get sent, and you can configure it to automatically deliver documents like the Order Confirmations to customers by e-mail. With the CU7 release of Dynamics AX, a new feature was added that makes this even more useful, because you can set up global rules for the forms where you can tell it to send to particular e-mail purpose on the customer account rather than having to specify it by account.
By doing this you can have one Print Management rule, and then specify who receives the emails through the contact management on the customer record, making life so much easier.
Getting Ready…
Within your Customer maintenance form, open up the Contact Information tab, and from the More options menu button within the tab, select the Advanced menu item.

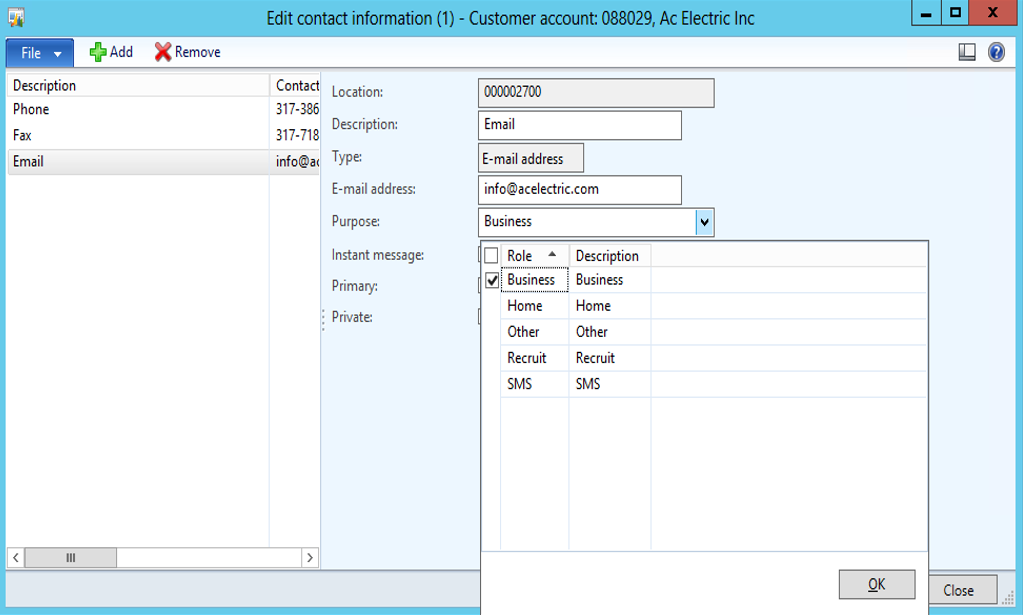
When the Edit Contact Information maintenance form is displayed, select the primary e-mail that you would like all documents to be emailed to and from the Purpose dropdown box, check the Business purpose and click the OK button.
When you have finished, click the OK button, and then exit out of the Customer maintenance form.
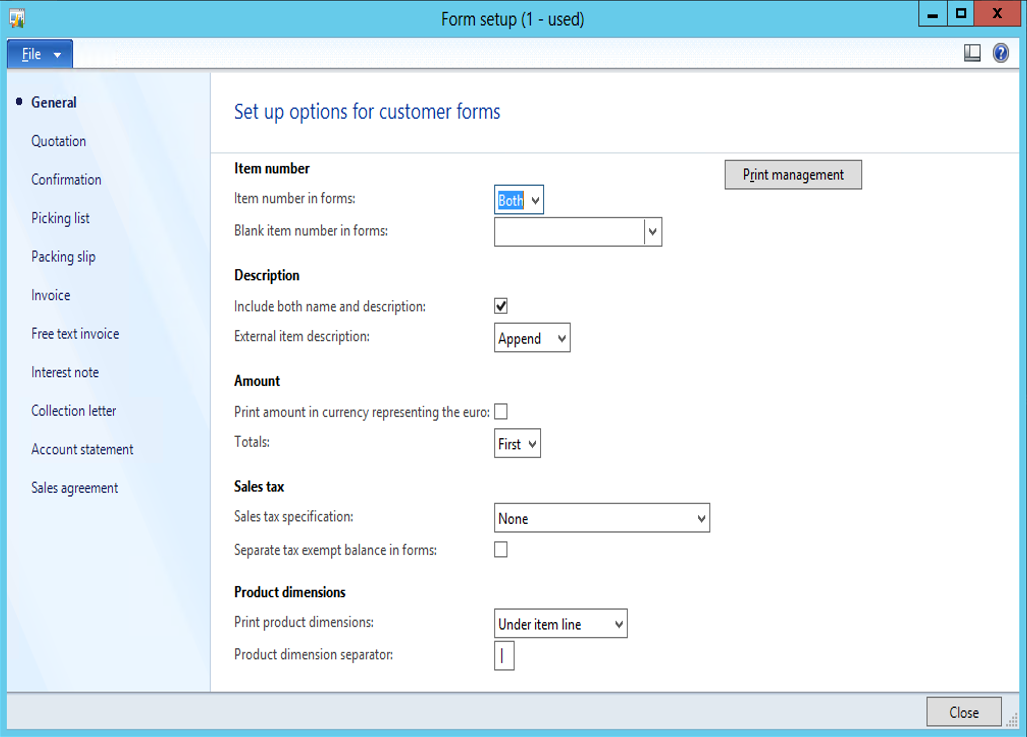
Select the Form Setup menu item from within the Forms folder of the Setup group of the Accounts Receivable area page.
When the Form Setup dialog box is displayed, click on the Print Management button to the right of the form on the General tab group.
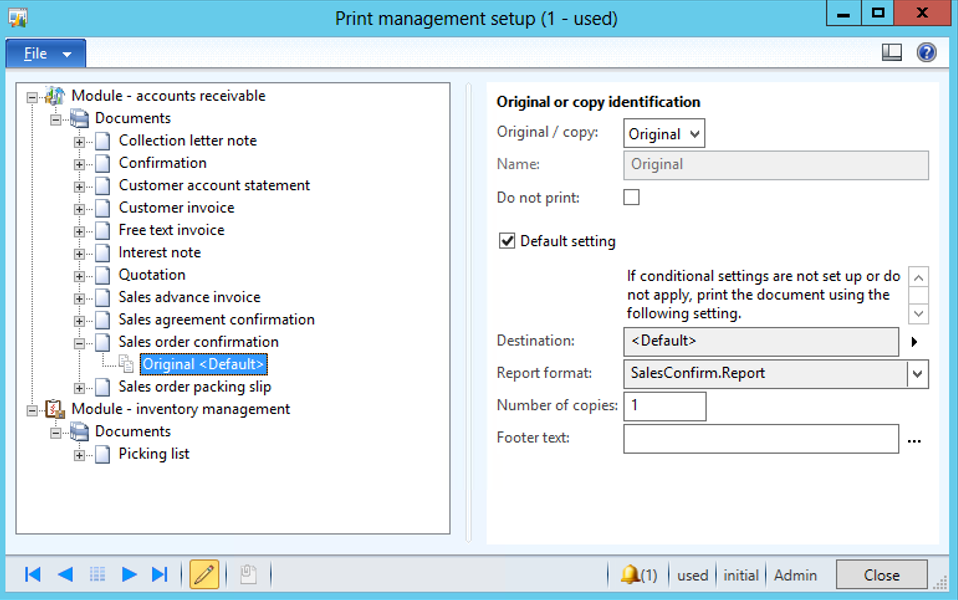
When the Print Management Setup dialog box is displayed, select the form that you would like to automatically send based on the contact information on the customer record, and then click on the > button to the far right of the Destination field.
Then click on the Printer Setup menu item.

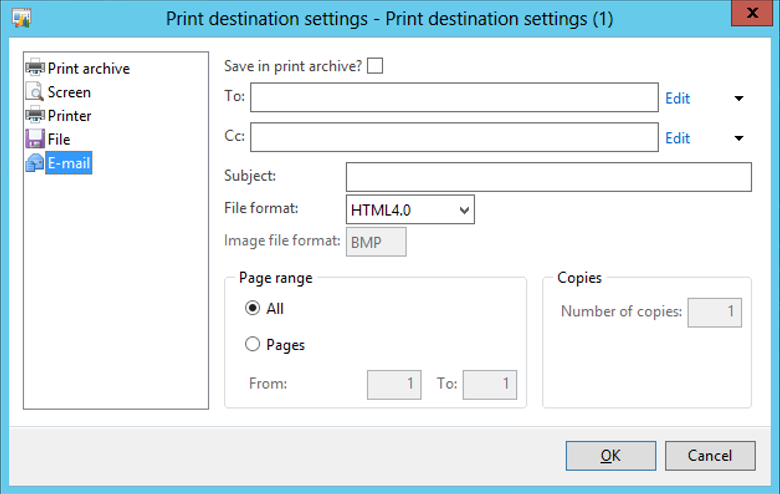
When the Print Destination Settings dialog box is displayed, click on the Edit menu button to the right of the To field.
This will open up the Assign Email Address form. Click on the Customer Purpose dropdown box.
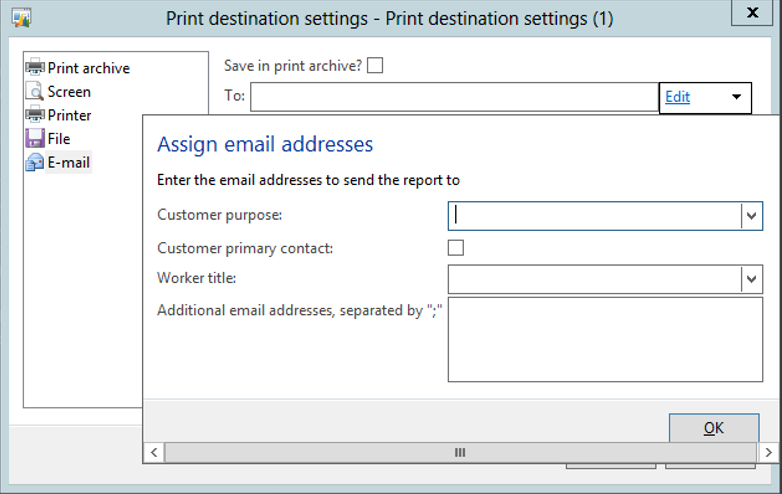
Then select the default Purpose that you want to select from the Customer account whenever the document is emailed.

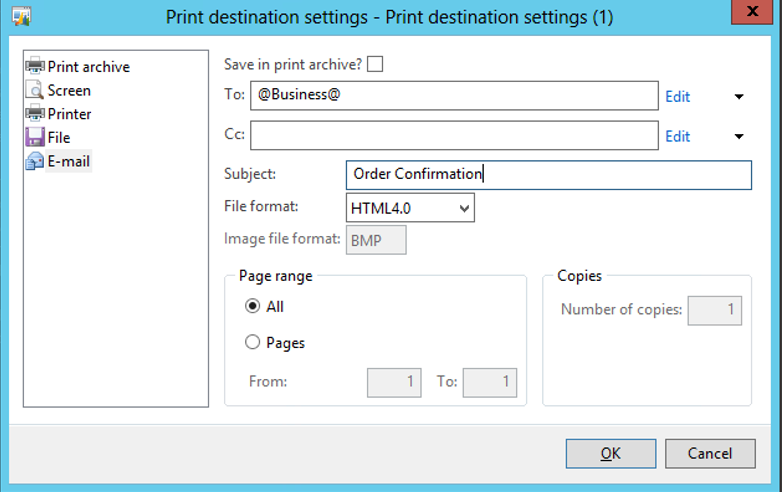
To tidy things up, add a Subject for the e-mail and then click the OK button to save the configuration.
How It Works…
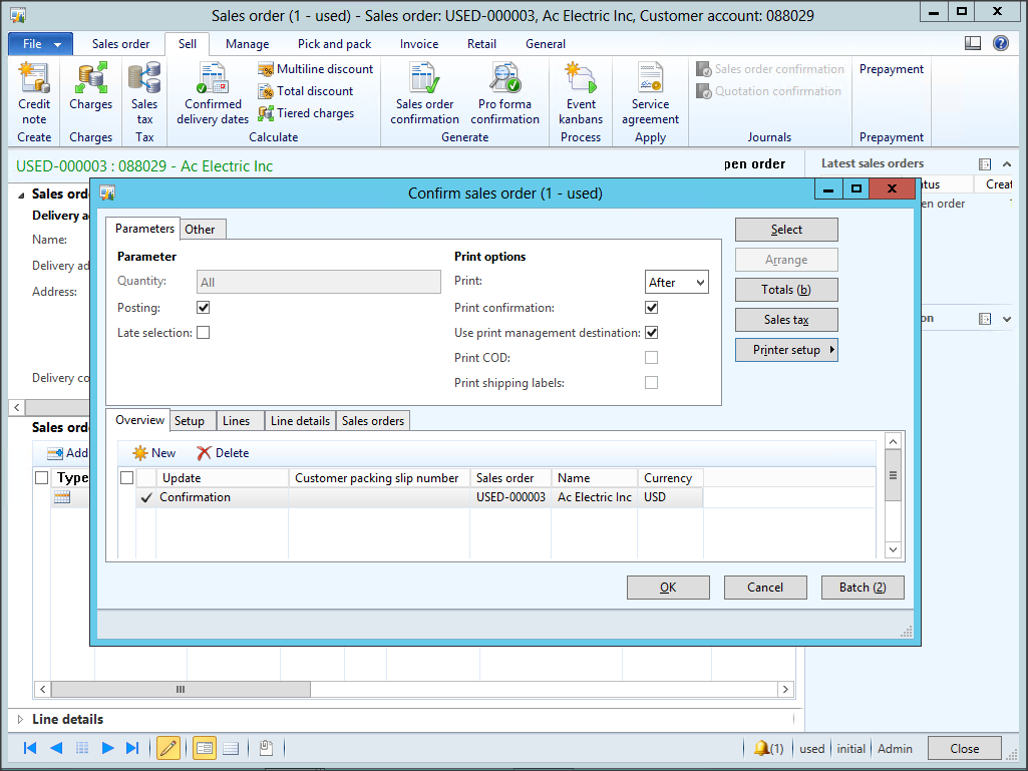
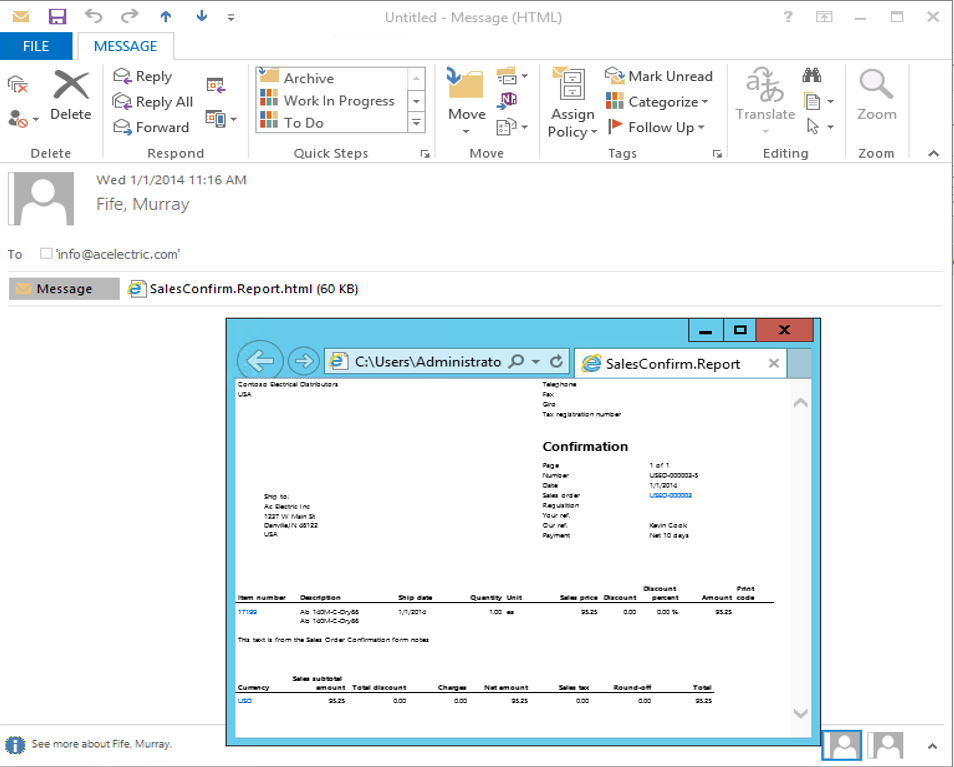
Now select a Sales Order, and create a Sales Order Confirmation.
When the Confirm Sales Order dialog box is displayed, make sure that you select the Print Confirmation and also the Use Print Management Destination so that it will use the overriding default setup for print management, and then click on the OK button.
This will create an e-mail message to the email account on the Customer that is has the same Purpose, and attach the Order Confirmation document to it, all in one fell swoop.

Share this post
- 0 comment
- Tags: Dynamics AX, Print Management
0 comment